Can you put a garbage disposal in an RV?
This post may contain affiliate links which means I may receive a commission for purchases made through links.

A recreational vehicle (RV) has a relatively small living space compared to a hotel, apartment, cabin, or house. For that, it’s important to look for more convenient ways to manage waste, or else the RV will get cluttered quickly. One common way to reduce kitchen clutter in a house is to install garbage disposal underneath the kitchen sink. But can you use it in an RV? In other words, can you put a garbage disposal in an RV?
That’s exactly what we’ll be looking at in this article. In addition, we’ll look at the pros and cons of using a garbage disposal in an RV. More importantly, we’ll show you how to install the garbage disposal in an RV step by step!
First things first;
Can you put a garbage disposal in an RV?
Yes, you can install a garbage disposal system in your RV’s sink. That way, the disposal unit will act like your RV’s macerator and convert leftover items and food waste into fine particles that are easy to dispose of. At the same time, this will prevent the sink from blocking by ensuring the food waste can easily pass through the RV’s plumbing system.
However, while you can put a garbage disposal in an RV, it’s not a good idea. This is because most garbage disposals cannot handle the demands of a Recreational Vehicle. As a result, the unit may use up excess power and quickly cause problems for your RV’s grey tank, but more on that later while looking at the pros and cons of putting a garbage disposal in an RV.
In the meantime;
Here’s how an RV garbage disposal system works!
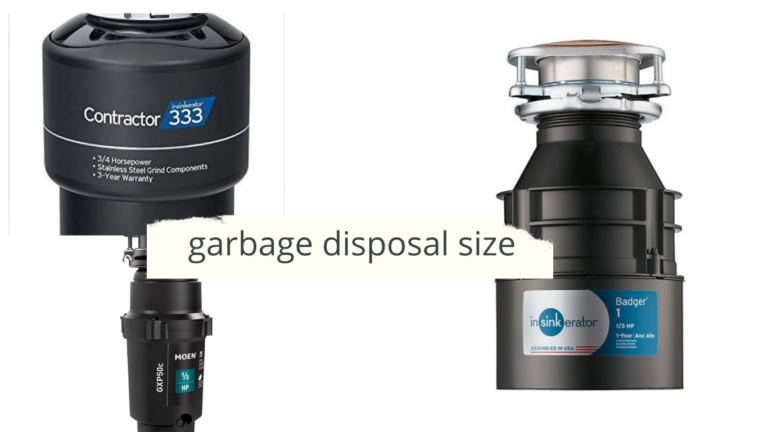
To start, a garbage disposal is a small electric-powered appliance installed under the sink to chop leftover items and food scraps in utensils into small particles.
When you throw food scraps and other tangible items in the sink, they enter the grinding chamber of the garbage disposal. The disposal blades or impellers then grinds them into fine pieces. Afterward, running water from the sink faucet then takes these waste particles into the drain and ends up in the RV’s gray tank.
Also, you can connect your RV’s garbage disposal system with a dishwasher drain to get rid of its waste too. However, the disposal must be connected to a 110 – 120 VAC power source to operate its ⅓ to ½ HP motor that spins the grinding blades/ impellers.
On top of that, you have to run plenty of water into the disposal during operation to avoid the buildup of food debris inside the grinding chamber, which can cause a foul odor inside the cabin. In addition, this helps to prevent the piling up of solid waste inside the RV’s gray waste as it’s difficult to remove.
Finally, there are 2 types of RV garbage disposal systems; continuous-feed and batch-feed models. Batch-feed garbage disposals are ideal for use in RVs because of the limited food waste compared to that of a family with a large household. As for the cost, garbage disposals for RVs cost around $80 to $150, depending on the motor rating of the unit.
Benefits of putting a garbage disposal in an RV
-
Less food waste
The most obvious benefit of installing a garbage disposal in your RV is that it will help you cut back on food waste. Better yet, it reduces the chances of clogging your RV sink as it chops the food waste into small particles, allowing them to pass through the pipes with ease.
-
Odor management
Another notable benefit of having a garbage disposal in your RV is that it’s more hygienic than throwing food scraps in a trash can. This will help you avoid the foul smells associated with storing food items in your RV’s trash can all day.
Drawbacks of using an RV garbage disposal
-
Gray tank buildup
The solid food waste being dumped into the gray tank by garbage disposal can accumulate in the tank as it’s not designed to flush out the solid particles. Over time, these food particles will mix with water to form a mud-like sledge that will coat the walls of your RV’s gray tank. Even worse, this buildup can cover the tank sensors, causing them to provide false readings. Also, this sludge buildup can cause the tank to overflow and enter your shower or sink.
-
Foul odors in your RV
In addition to causing sludge buildup in your gray tank, garbage disposals can cause odors to come from the tank into your motorhome. After all, unlike black tanks, gray tanks are not designed to hold solid wastes. Therefore, connecting the garbage disposal to the gray tank can cause a foul smell to fill up your RV.
-
Water usage
As mentioned earlier, garbage disposal requires plenty of running water to perform its job. So, if you’re camping somewhere with no water source nearby, you will have to use your RV’s fresh water tank.
Unfortunately, garbage disposals can use up to 2 gallons in a few minutes, yet most RV freshwater tanks hold around 20 gallons. For that, you have to constantly drive to a nearby water station to refill the fresh water tank. Or else you’ll run out of fresh water, especially if you’re using the garbage disposal frequently.
-
Clogs
Lastly, garbage disposal is susceptible to clogs, especially when you throw the wrong food items into the unit. For instance, stronger or flexible food items like banana peels, celery, and coconut shells should be thrown into an RV garbage disposal. In addition, you should regularly clean out the garbage disposal to prevent it from clogging.
How to install a garbage disposal in an RV
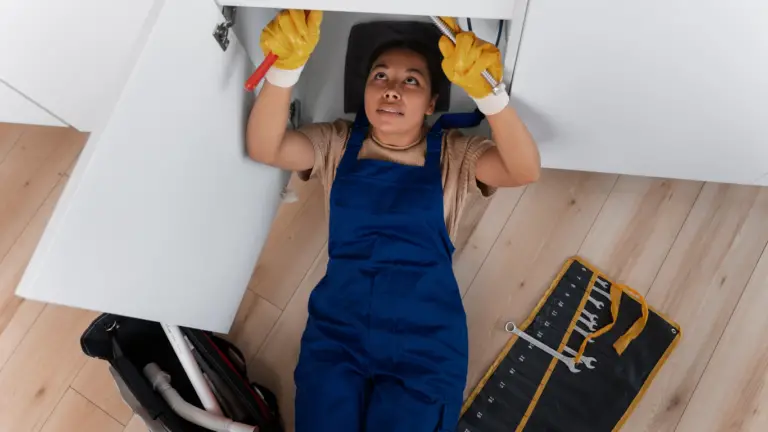
Installing a garbage disposal in a Recreation Vehicle (RV) is a relatively specialized job that requires electrical and plumbing knowledge to complete the task. Moreover, you’ll need tools and supplies like a hammer, pipes, electrical sockets, screwdrivers, pliers, and so on.
However, you can still install the garbage disposal in your RV without any difficulty as long as you’ve got basic electrical and plumbing knowledge.
That said, here are the steps you need to follow to install a garbage disposal system in your RV;
Step 1: Disconnect the sink pipes & remove the flange
Before you install a new garbage disposal system in your RV, turn off the water supply to the sink. Then use the valves on the side or underneath the faucet pipes to isolate them from the rest of the water lines.
Remove the drain pipe connecting the sink flange, before disconnecting the flange with a plier. This sink flange is a round metallic pipe with the drain and a gauze-like structure to prevent solid food particles from entering the drain line. Clean the seating area of the flange to remove any accumulated debris or rust underneath it.
Step 2: Install a new sink flange
Most garbage disposals have 2 types of mounting assemblies; 3-screws assembly and EZ mount assembly. Whichever the case, both types of disposals are relatively easy to install.
So, apply a plumber putty on a new sink flange, put it in the sinkhole, and firmly press it into place using a small weight, then install the mounting assembly according to its design.
For an EZ mounting assembly, screw the mounting system in its place on the sink flange. And for the 3-mount assembly, install the new gasket & mounting ring on the sink flange, attach it in place with a snap ring, and tighten the 3 screws.
Step 3: Add a power source
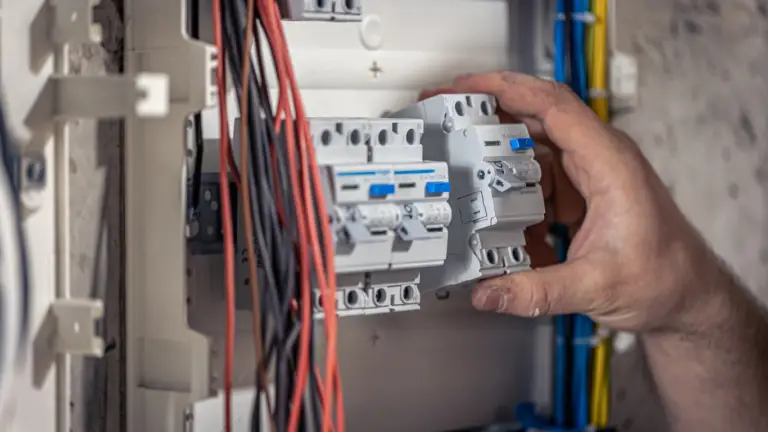
An RV garbage disposal requires a 110 to 120 VAC circuit with a 10 to 15 A breaker to operate. However, this will also depend on the motor rating of the garbage disposal you intend to install in your RV. In addition, you should connect it to a GFCI (Ground Fault Circuit Interrupter) receptacle to prevent the risk of electrical shock if it comes into contact with water.
On the bright side, garbage disposals only turn on for a short time while using the sink or dishwasher. Therefore, you can connect it to any nearby electrical outlet intended for other appliances like an electric iron or dishwasher, provided they have comparable power and voltage requirements.
If you’re installing a new power source for the disposal, use a proper wire gauge to ensure a safe operation. Also, make sure you tuck the wires neatly near the sink to avoid any electrical shock because of a loose connection. More importantly, make sure the breaker is turned off while doing any electrical work in your RV! For non-corded garbage disposals, you need to hardwire it to a dedicated circuit for safe operation.
Step 4: Mount the garbage disposal in the RV
A garbage disposal has 2 inlets; one for the sink water and the other for the dishwasher. The dishwasher connection point is usually sealed with a plug. If you want to connect a dishwasher to the garbage disposal, you need to remove this plug first using a hammer and a screwdriver. However, if you don’t have a dishwasher in your RV, don’t remove the plug.
To mount your garbage disposals, lift them to the flange and align them with the mounting assembly. Then use a screwdriver to twist the locking ring until you hear a clicking sound.
Step 5: Connect the drain lines
After mounting the garbage disposal in place, take measurements and cut the pipe accordingly, then secure them in place using fixing screws and clamps. Once you have done that, connect the garbage disposal to the dishwasher and drain line. Check the sink flange for any extra plumbers’ putty and clean it thoroughly before moving on to the next step.
Step 6: Check for leaks and test run the garbage disposal
Before you turn on the garbage disposal, check for any water leaks by turning on the water supply to the sink. Also, keep a container or bucket under the disposal and run the tap water into the sink. Check if there is any water leakage at the mounting flange for pipe joints under the sink. If you see any water dripping or leaking, use silicone sealant to seal the leakage or refix the garbage disposal until there is no water leakage.
Finally, turn on the tap water and the garbage disposal, then put food waste into the unit to see if it’s operating properly. After testing the garbage disposal, remember to turn it off until you’re ready to dispose of any garbage or wash utensils.
Conclusion
To sum up, putting a garbage disposal in a motorhome is a good option for RVs as it allows them to get rid of kitchen waste effectively while on the road. However, you have to ensure you install the garbage disposal properly for its efficient use. In addition, you should clean it regularly and run plenty of water during its operation to prevent clogging and other common garbage disposal problems.

monodox order online – order albuterol 4mg sale glipizide for sale online